The Defender's Wiki - Mechanisms
Mechanisms are used to automate some repetetive tasks, so we can defend more efficiently
Types of mechanisms
-
Armour dispensary #1
Dino_the_dreamo's 6x5x5 dispensary design
Popularized/invented by: Dino_the_dreamo ❤️
Average time required to build: 8-10 minutes (includes gathering materials)
Resources needed: 4x stone pressure plate, 4x dispenser, 10x hoppers, 8x chest, some building blocks (I use glass for demostration purposes), 8x glass, 5x ladder, 2x sign

Images:
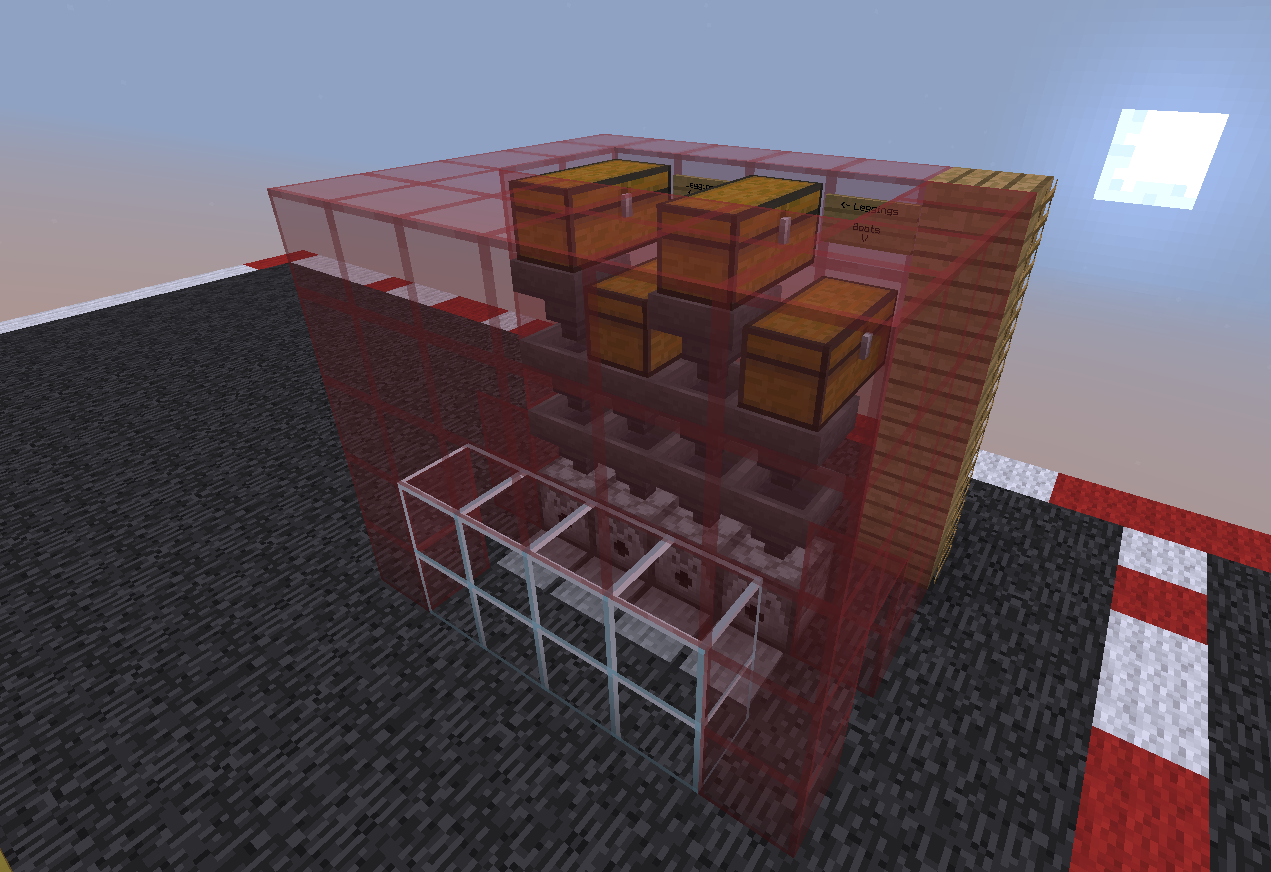
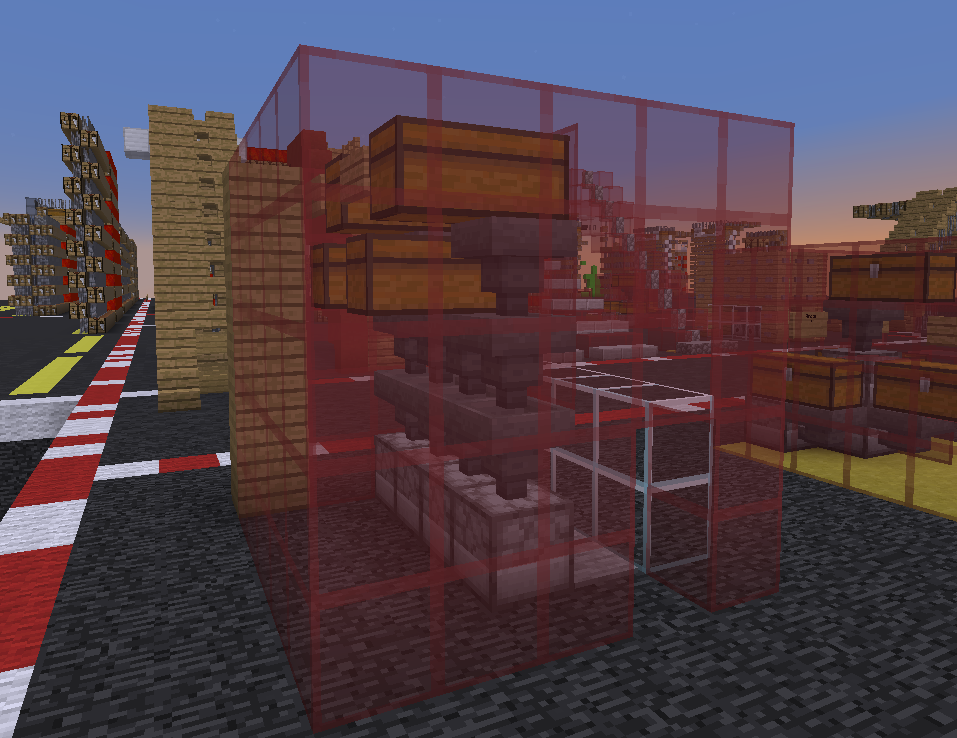
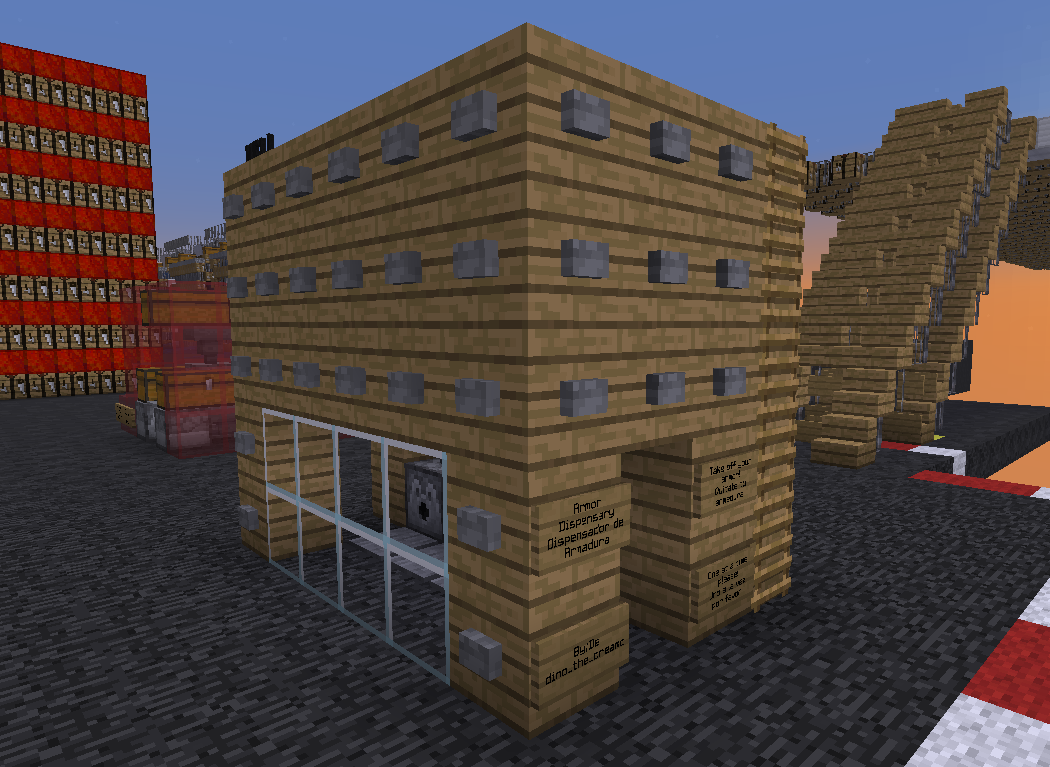
Video tutorial:
-
Armour dispensary #2
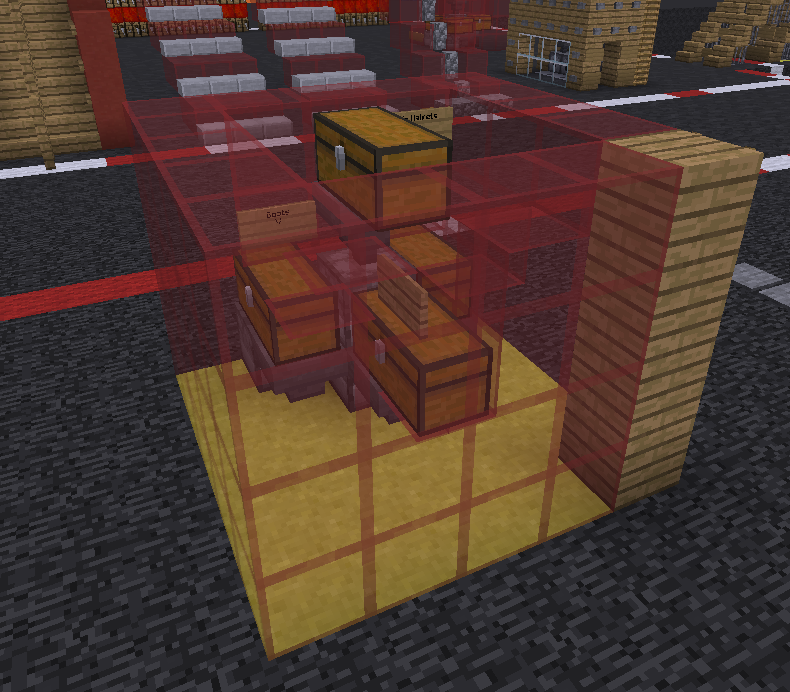
1-block armour dispensary immortalized on Brottweiler's channel. It's actually 5x5x4, but I call it 1-block, because the dispensers are focused the same direction, so you don't have to walk on four pressure plates like in the previous design
Popularized/invented by: Brottweiler ❤️
Average time required to build: Not measured (includes gathering materials)
Resources needed: 1x stone pressure plate, 4x dispenser, 4x hoppers, 8x chest, some building blocks (I use glass for demostration purposes), 4x ladder, 4x sign

Images:
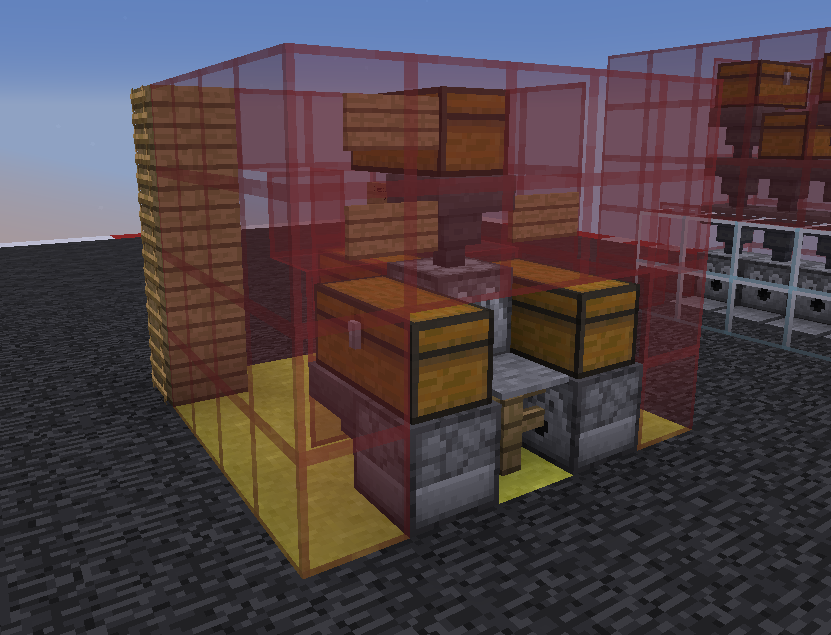
Video tutorial:
-
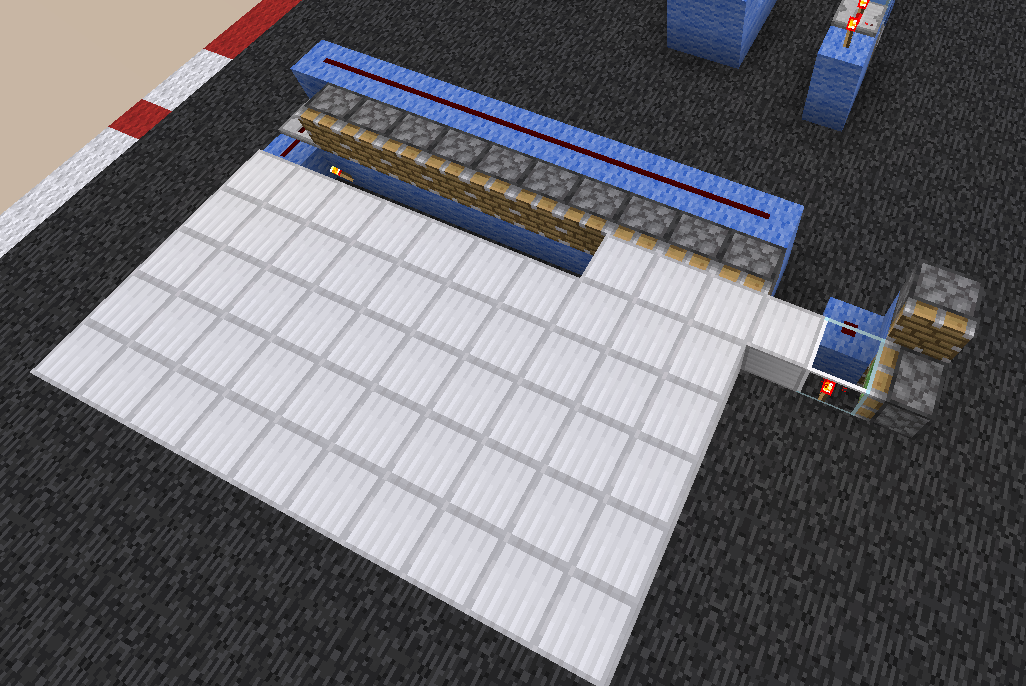
Iron blocks transporter
This mechanism is used to transport blocks, so we can mine them easier and faster if the iron supply is in an inconvenient place
Popularized/invented by: Cheetqh ❤️
Average time required to build: Not measured (includes gathering materials)
Resources needed: Some building blocks, pistons, sticky pistons, repeaters, redstone torches, redstone dust

Images:
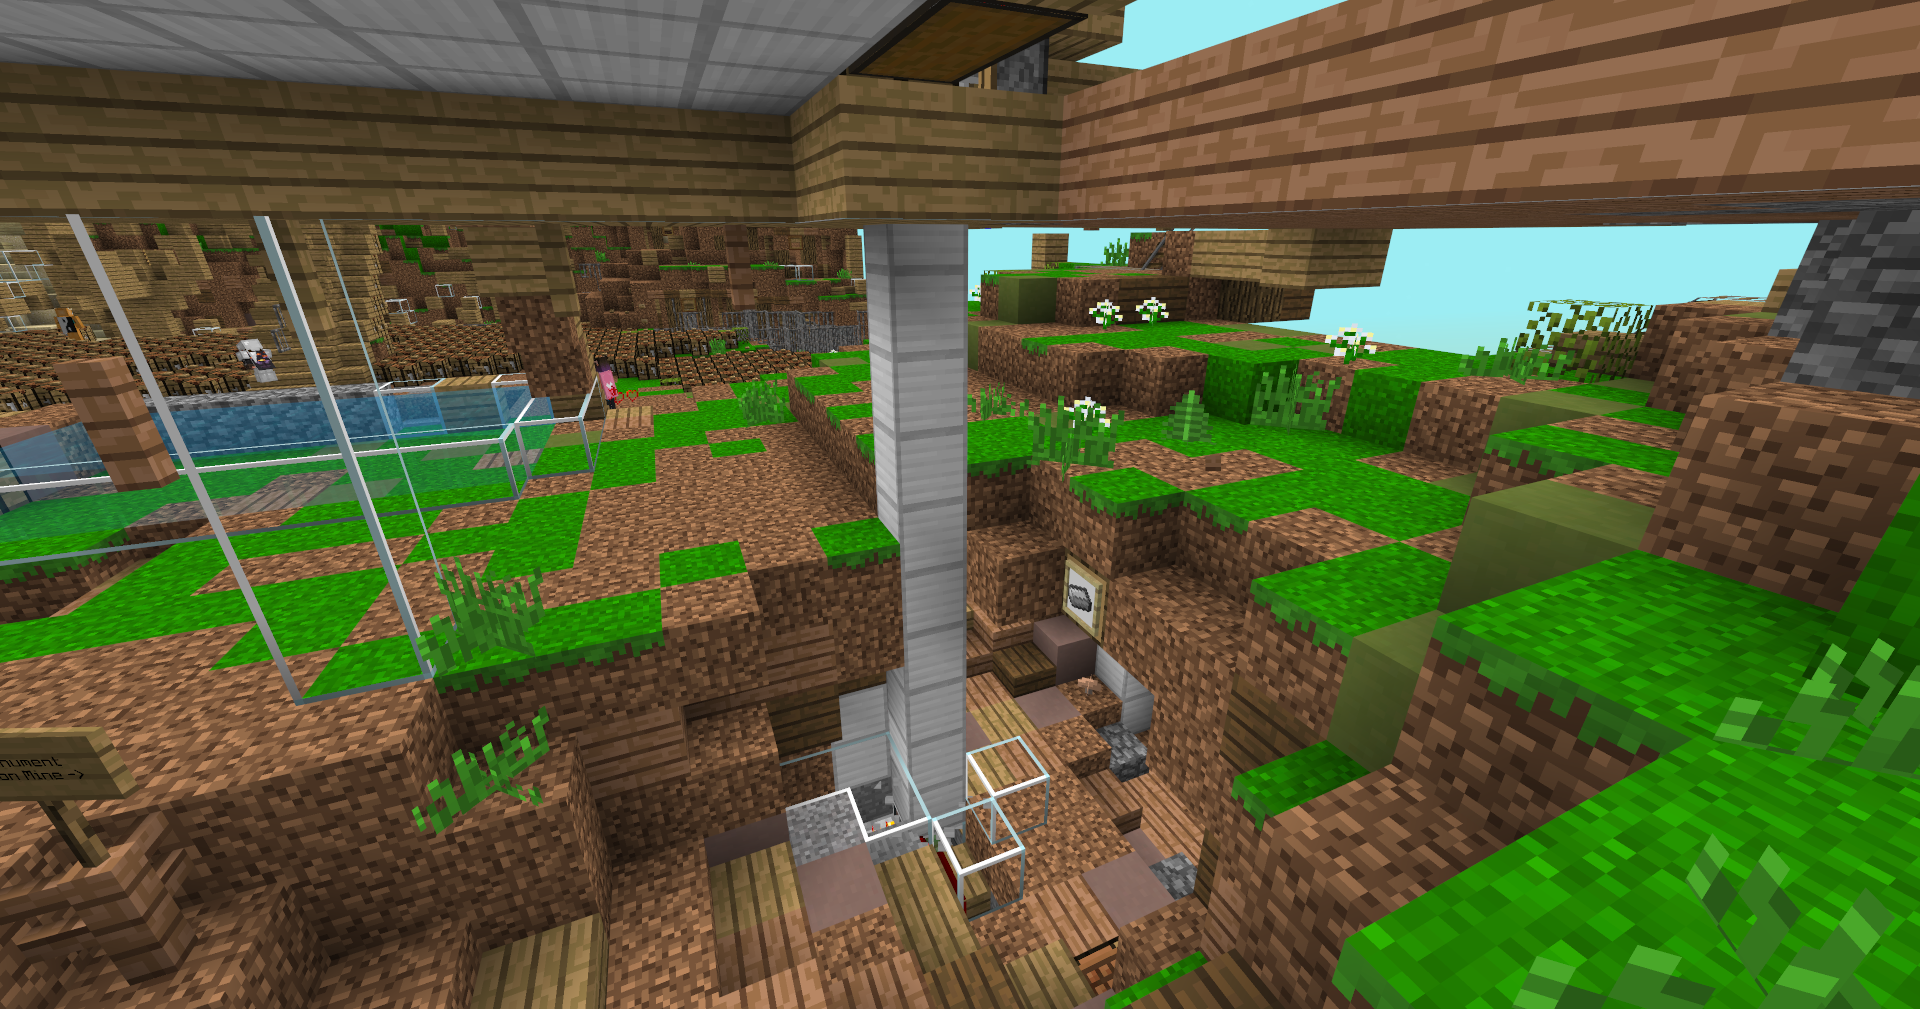
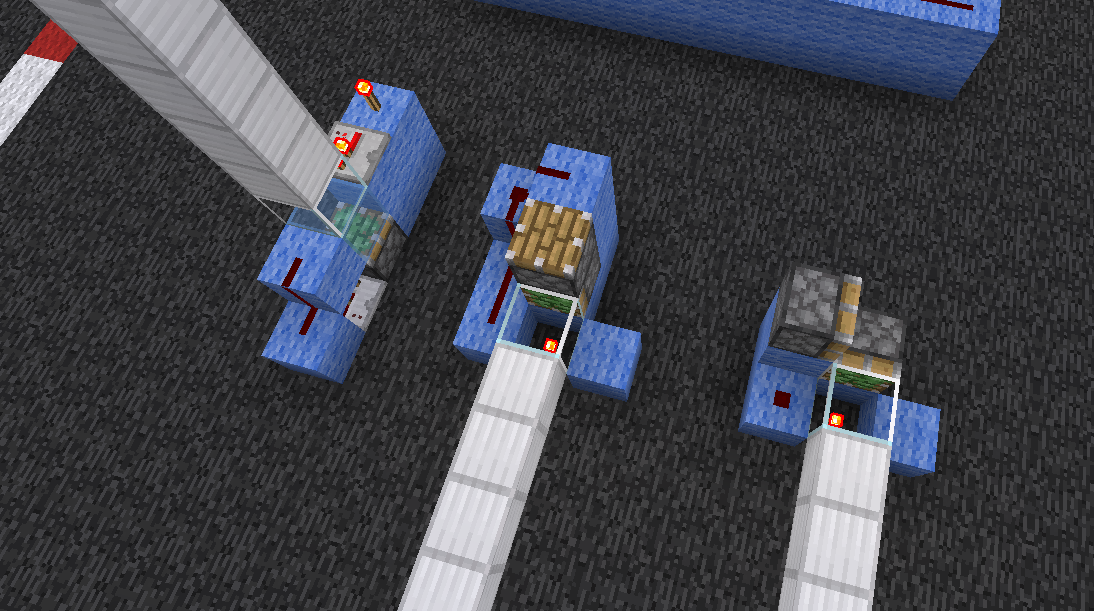
In the last two screenshots, glass represents where the iron blocks should spawn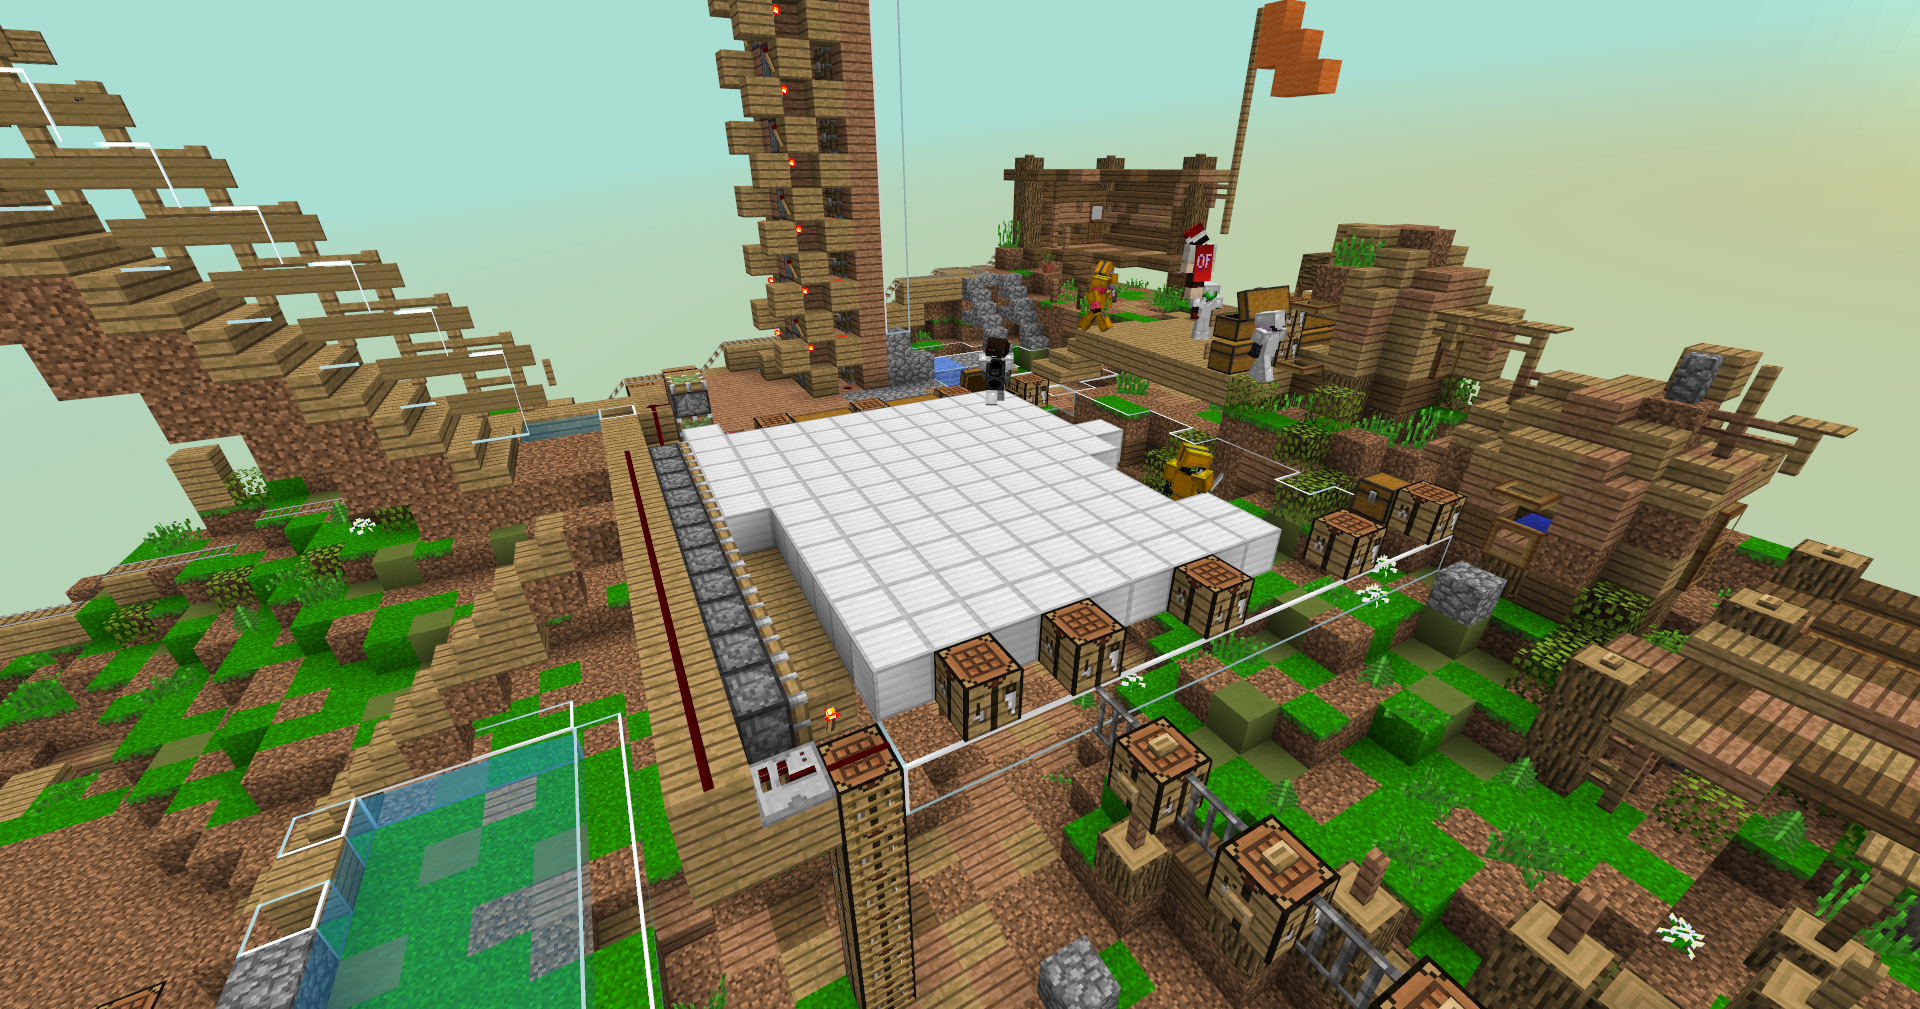
Video tutorial:
-
Elevator
An elevator! Brings you to the sky platform in the blink of an eye!
I won't record my own tutorial or describe this too much, because it is quite niche and likely to be destroyed very fast in an actual match, so I don't think many people are going to use it. Luckily, I got some screenshots from a chill match, where no one decided to destroy it
Popularized/invented by: Cheetqh ❤️
Average time required to build: Not measured (includes gathering materials)
Resources needed: Watch the tutorial
Images:
Video tutorial: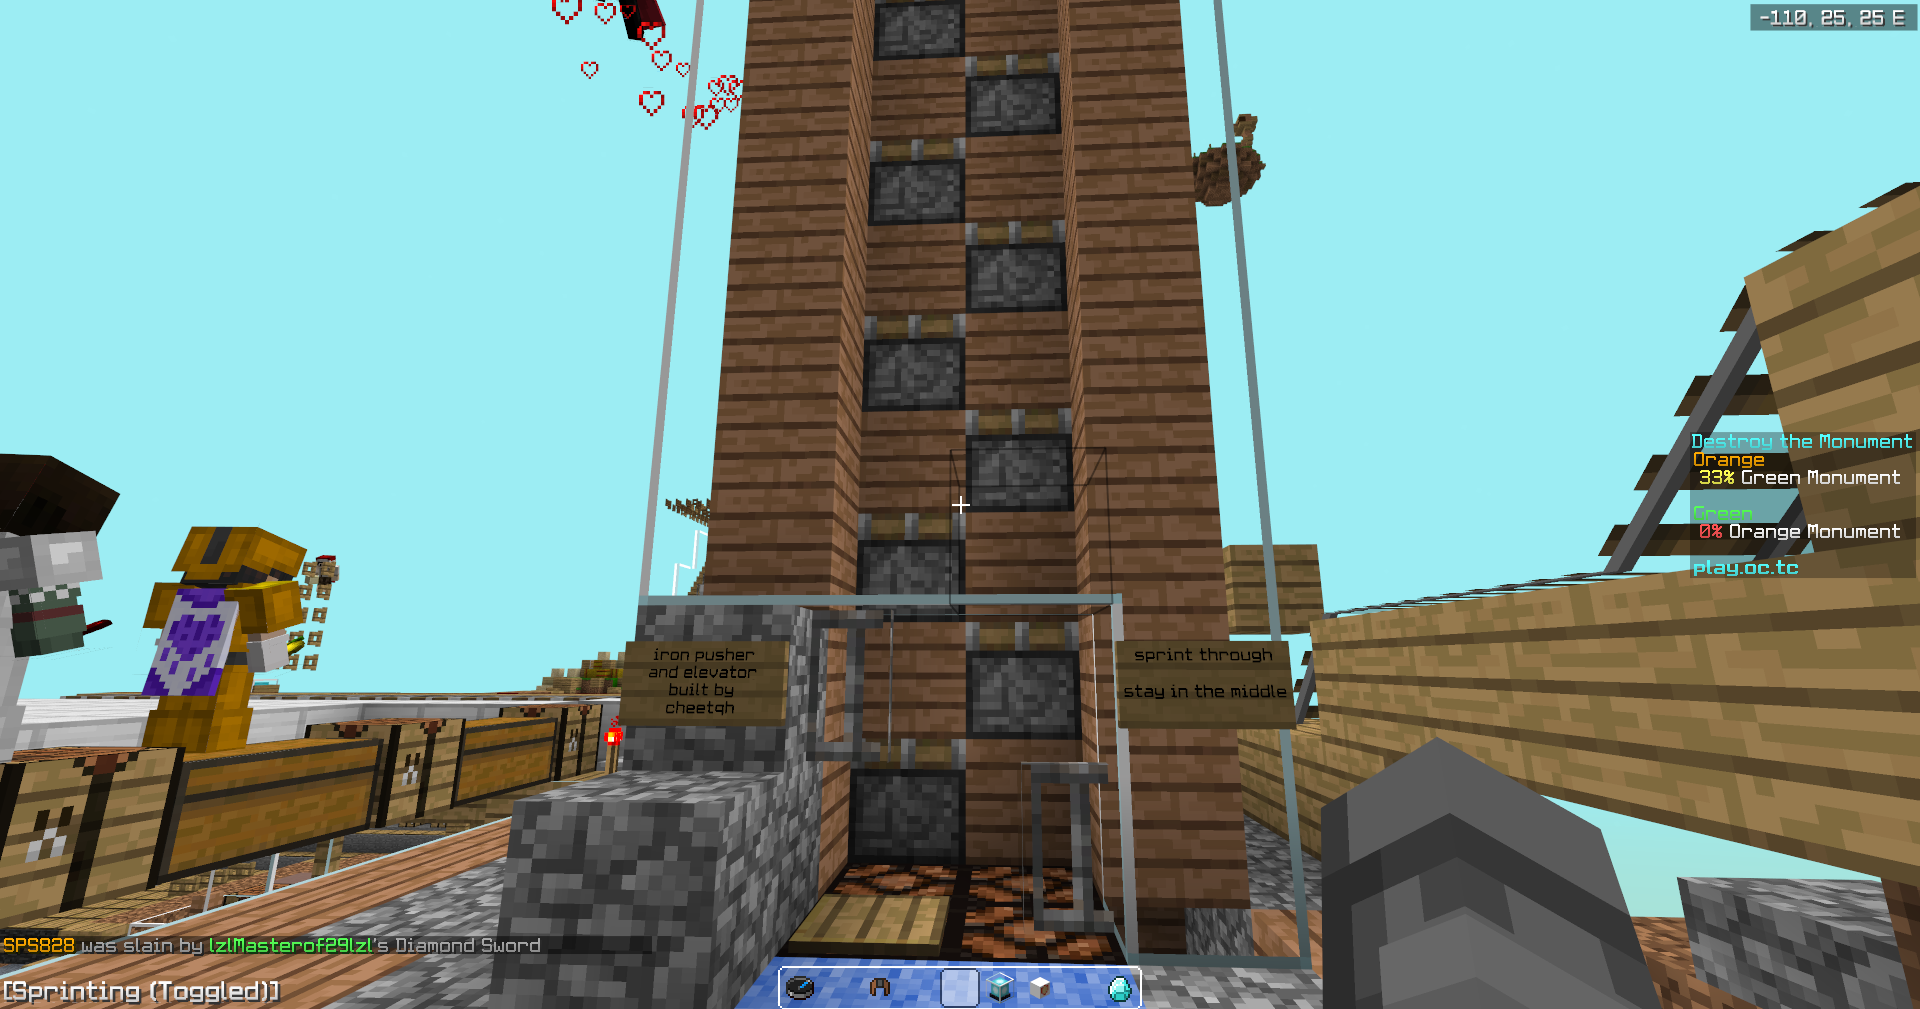
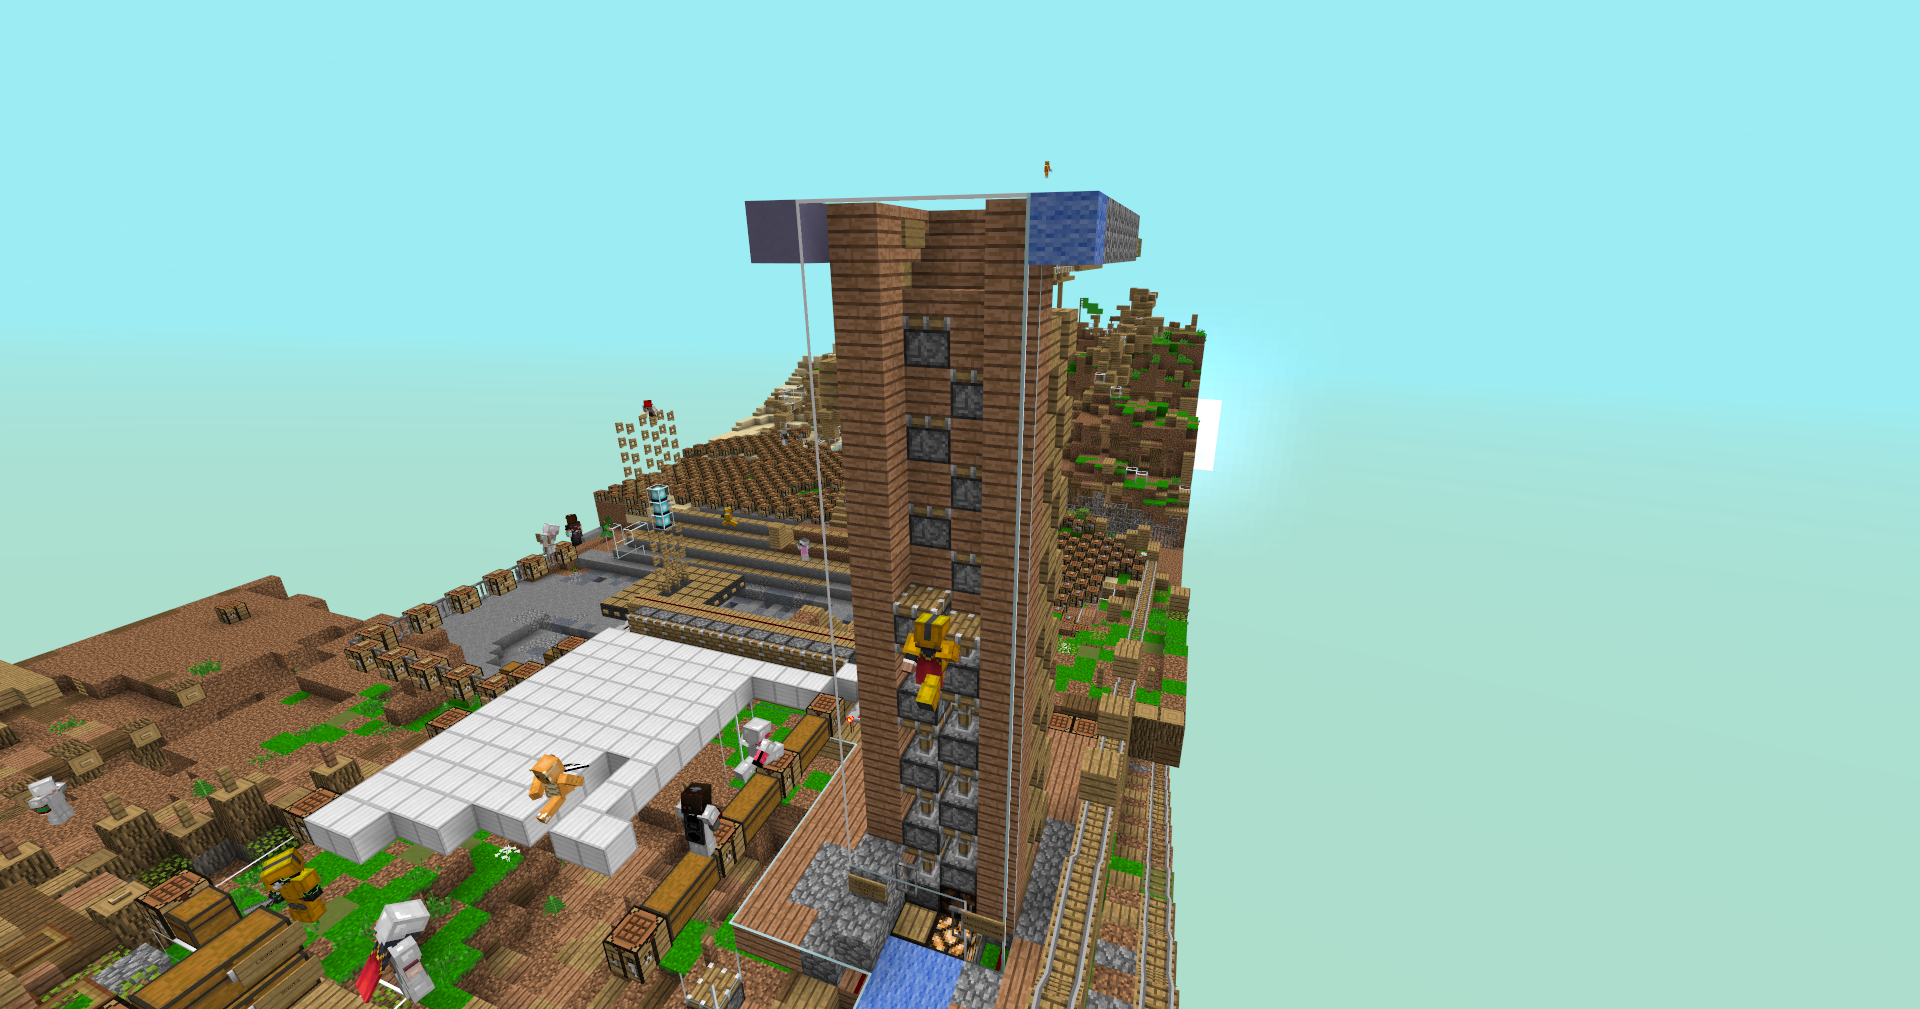
Don't build the part responsible for going down